
You have imported inventory data from your accounting system into seventhings and now want to assign the label scancode to your objects? We will show you how to do that here.
It is advisable to search for the objects strategically by going through the rooms with your inventory list printed out or open on your laptop.
You carry out the initial registration by assigning your imported assets to a scancode in seventhings and then sticking the label accordingly.
Via the App:
- You found your object and put a label on it.
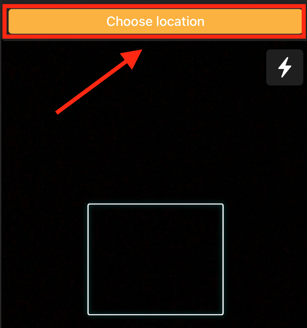
- You open the app and make your pre-selection, in which room you are at the moment.
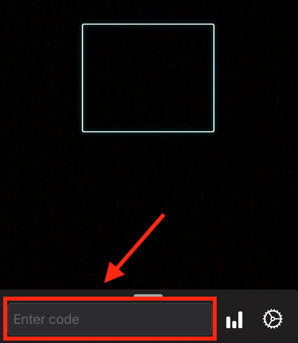
- Click in "Enter Code" or click the Search icon
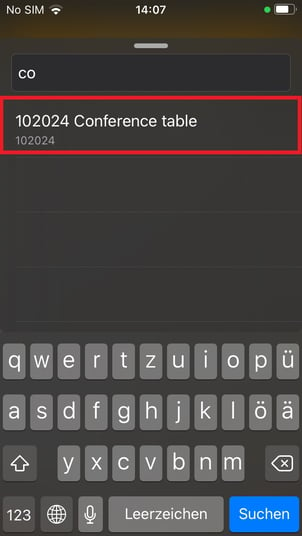
- You enter the object name or the dummy scancode of the found object into the search bar and select it. You need to make sure, that the "Scancode" field is filled with a dummy scancode before assigning it. You can read more about that here
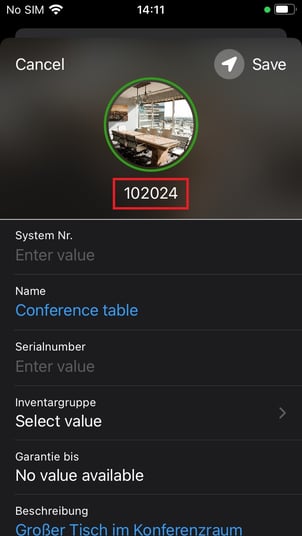
- Click on the number under the image/icon of the object.
- A scan mask will open and you can now scan the label you put on your found object
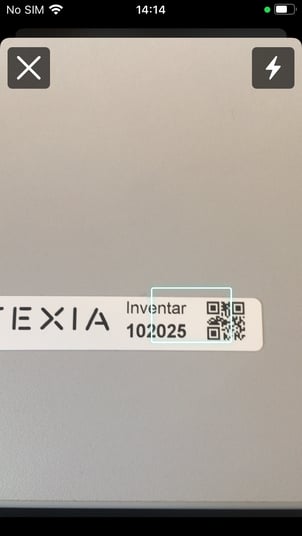
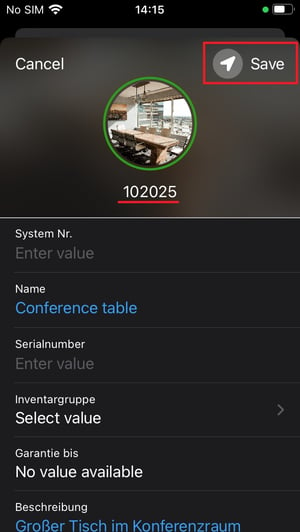
- Your new scancode should now be visible under the icon and you have to save it via "Save".
Important: Please do not stick and scan the label before the above process, otherwise a second record will be created for the same scancode without the imported object data.
Via the WEB-Version:
- You found your object and put a label on it.
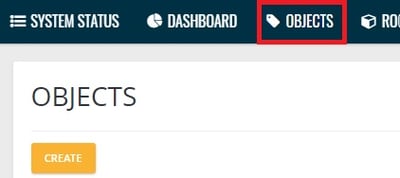
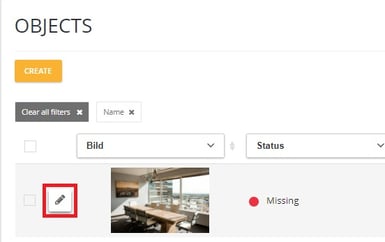
- You open the web version in the browser and navigate to the "Objects" tab
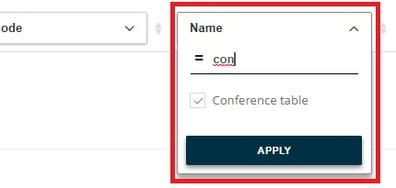
- Search your object by name, for example:
- Call up your desired object and click on the pencil icon. The detailed view will open
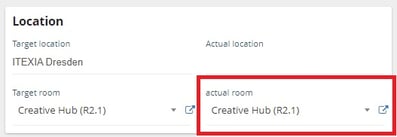
- It makes sense to select your current ACTUAL room/location right here:
- Then enter the scan code of the label you put on the object into the "Scancode" field;
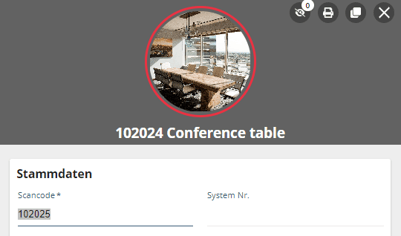
- Confirm the new scan code and the ACTUAL room with "Update".
Please help us with your review on this article below ⬇️
Thank you 💛