
How to connect Azure AD Open ID and seventhings
Let´s start within the seventhings software:
- Log into your seventhings instance with your instance admin.
- Navigate to the system settings
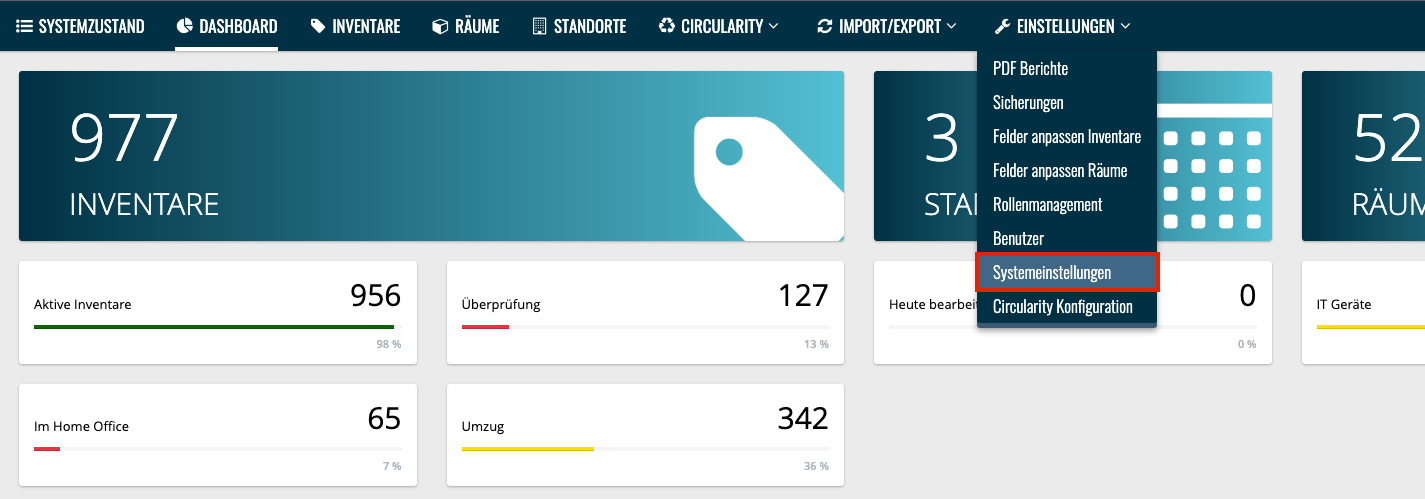
- Under the "Azure Ad Link" section, select Configuration
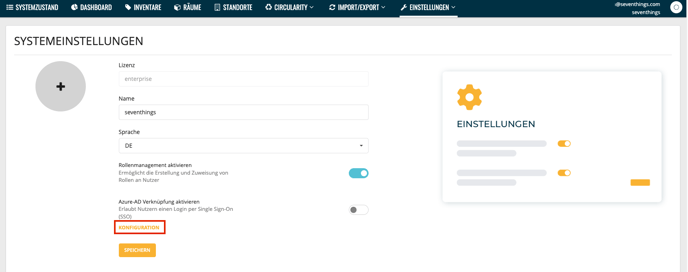
- Here you will find all the information you need to connect. We will return to this dialog later.
Now switch to the Azure AD Admin Portal:
- Add a new application in the App Registrations Section:
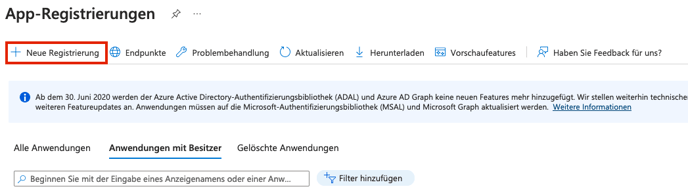
- Choose an arbitrary, preferably unique name

Note: The redirect URI is set in the next step. -
Now we add 2 platform redirection URIs.To be able to connect to Azure-AD via the software (web app) and the mobile apps, we need two redirect URIs
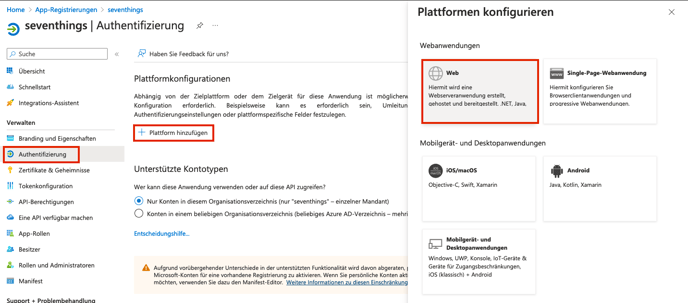
Please select the web application Web - You will find the redirect URI in the opened dialog of the seventhings software.
- Please copy the Mobile Redirect URI from seventhings to Azure AD and select ID Token.
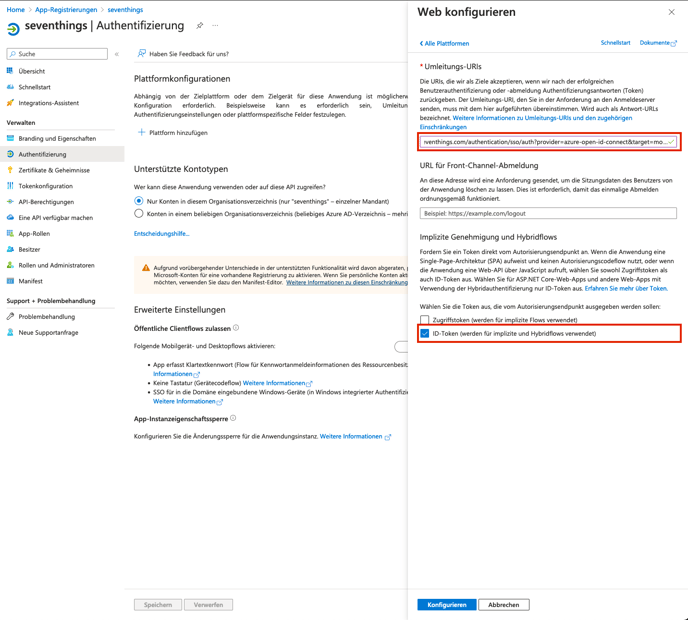
You can find the Mobile Redirect URI here: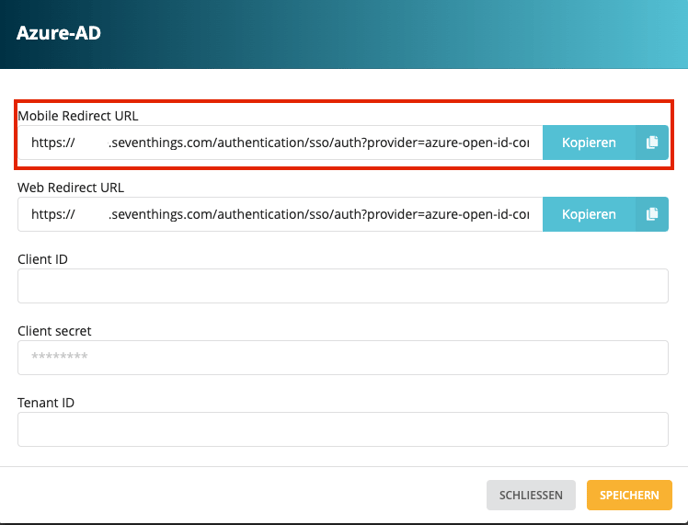
- Next, the Web Redirect URI needs to be configured. To do this, simply add this URL via "Add URL".
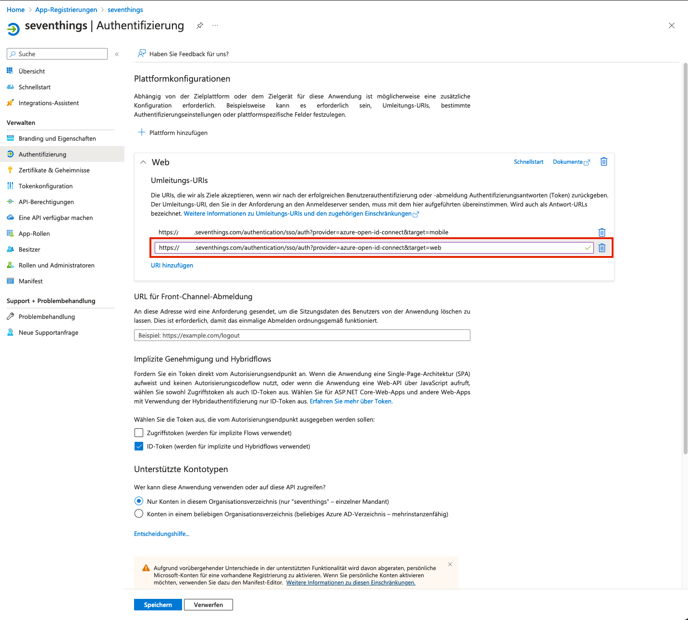
You can also find the Web Redirect URI in the seventhings dialog.
- Please copy the Mobile Redirect URI from seventhings to Azure AD and select ID Token.
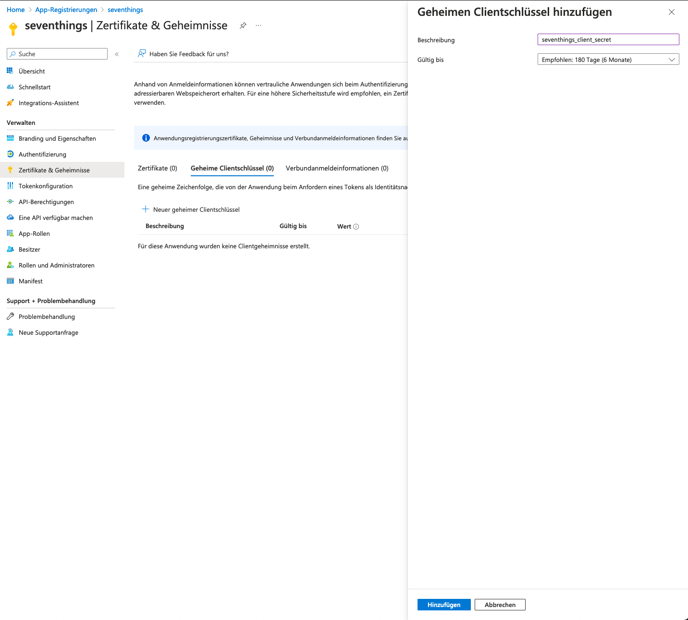
- For the connection a new secret key has to be created in Azure AD. To create a secret, go to Certificates and Secrets --> New private client key in the application:
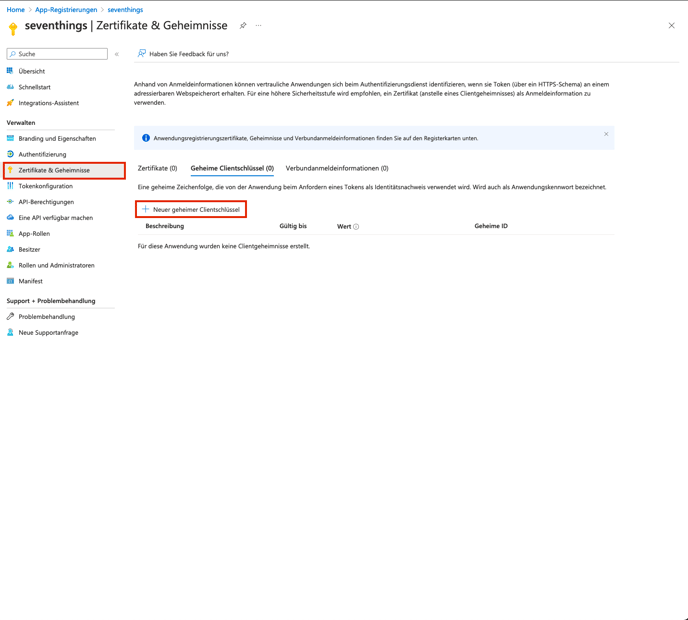
- Create the key with a unique description and expiration date that fit your corporate compliance requirements.
- Copy the value of the secret key from Azure AD

Add the value to the Client Secret field in seventhings.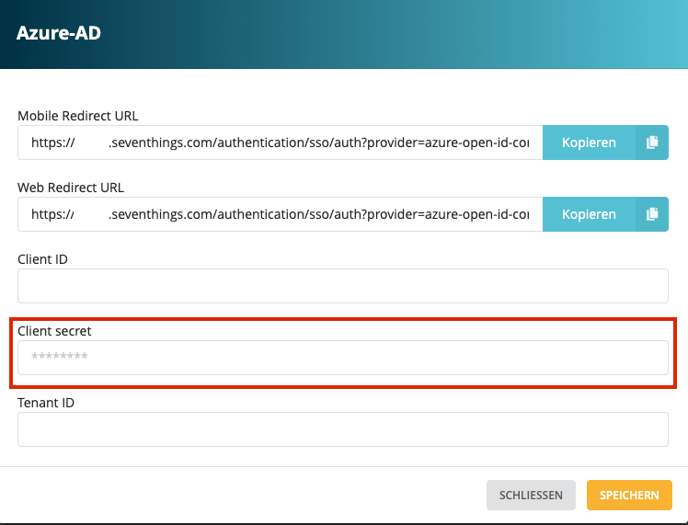
- Create the key with a unique description and expiration date that fit your corporate compliance requirements.
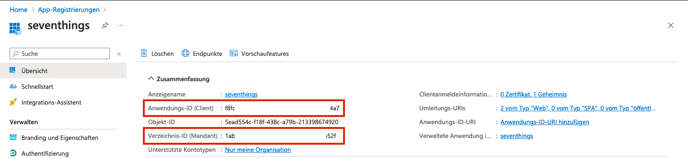
- Now we switch to the application overview in the Azure AD and copy the two values Client ID and Tenant ID to the following seventhings settings
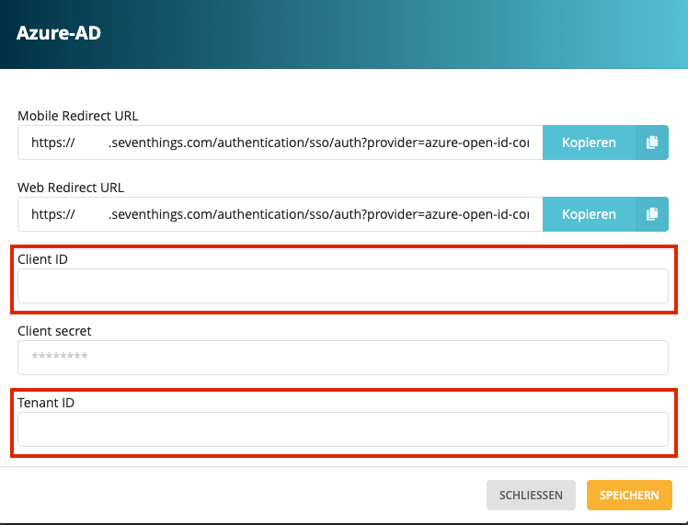
- As soon as you save and close the form in seventhings, the connection between Azure AD and seventhings is active.
-
In Azure AD, API permissions must now be granted to the application and granted by an administrator.
The permissions must be set as follows:
Permission name Type Admin consent required openid delegated YES User.Read delegated YES 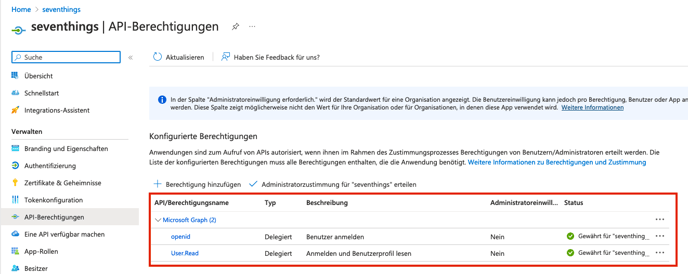
-
Depending on the settings in the application, groups or users must now be authorized / added for the application.
- How the login works after successful configuration you can read here: https://support.seventhings.com/en/active-directory-azure-ad