Dropdown fields help you select important information of your objects even faster. Here we show you common use cases how to create and customize these fields.
1. Common use cases for dropdown fields:
💡 Use cases:
- Employees:
- Many of our customers use dropdowns to create the list of employees who use each objects
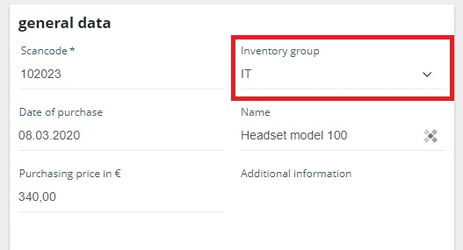
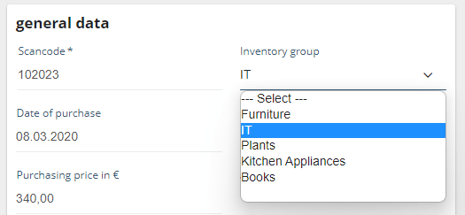
- Inventory group
- If, for example, you want to know exactly how many inventories of furniture are currently in stock, this field is worthwhile.
- How granular you proceed here is up to each company. It all depends on what information you want to filter for & how important some fields are to you
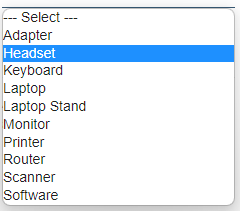
- You can build a general field and a more granular field for e.g. specifically the IT inventories:
- General inventory group:
-
-
- Inventory group specifically for IT equipment:
-

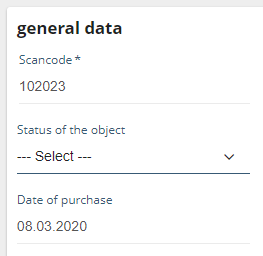
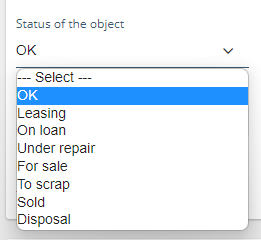
- Status of the object:
- If you want to track which situation your object is in at the moment, use a dropdown field for this:
2. Create & edit dropdown fields:
- Navigate to 'Settings' in your inventory manager and select 'Field Definition (Objects)'

Either select your existing dropdown field in the list using the pencil icon or create a new dropdown field:
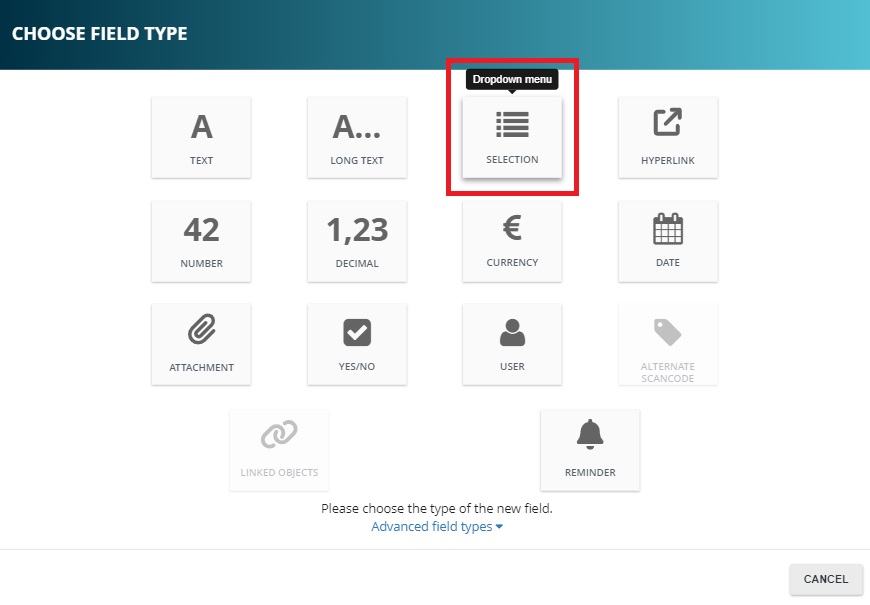
- Choose a name for your dropdown field in the upper area, here e.g. 'Employees'.
- In the 'Items' area you can drag and drop the field to the right of it to make it bigger or smaller and then enter your employees
Note:
- We recommend that you list your entries alphabetically in the drop-down field. This will save you searching through the list.
- Please also avoid empty rows
- Just end each entry with a new line using the 'Enter' button
- make sure there is no empty row after the last dropdown element, otherwise it will be selectable during the dropdown selection
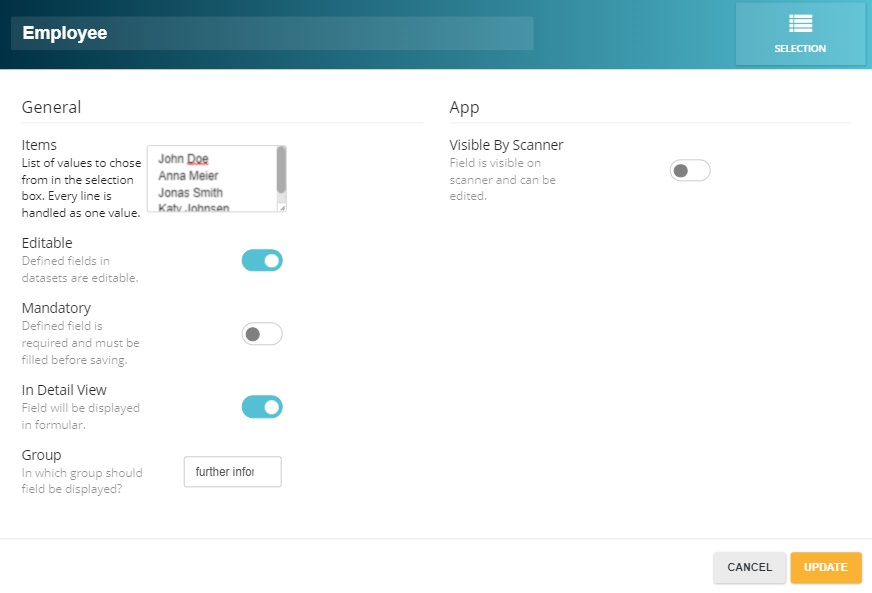
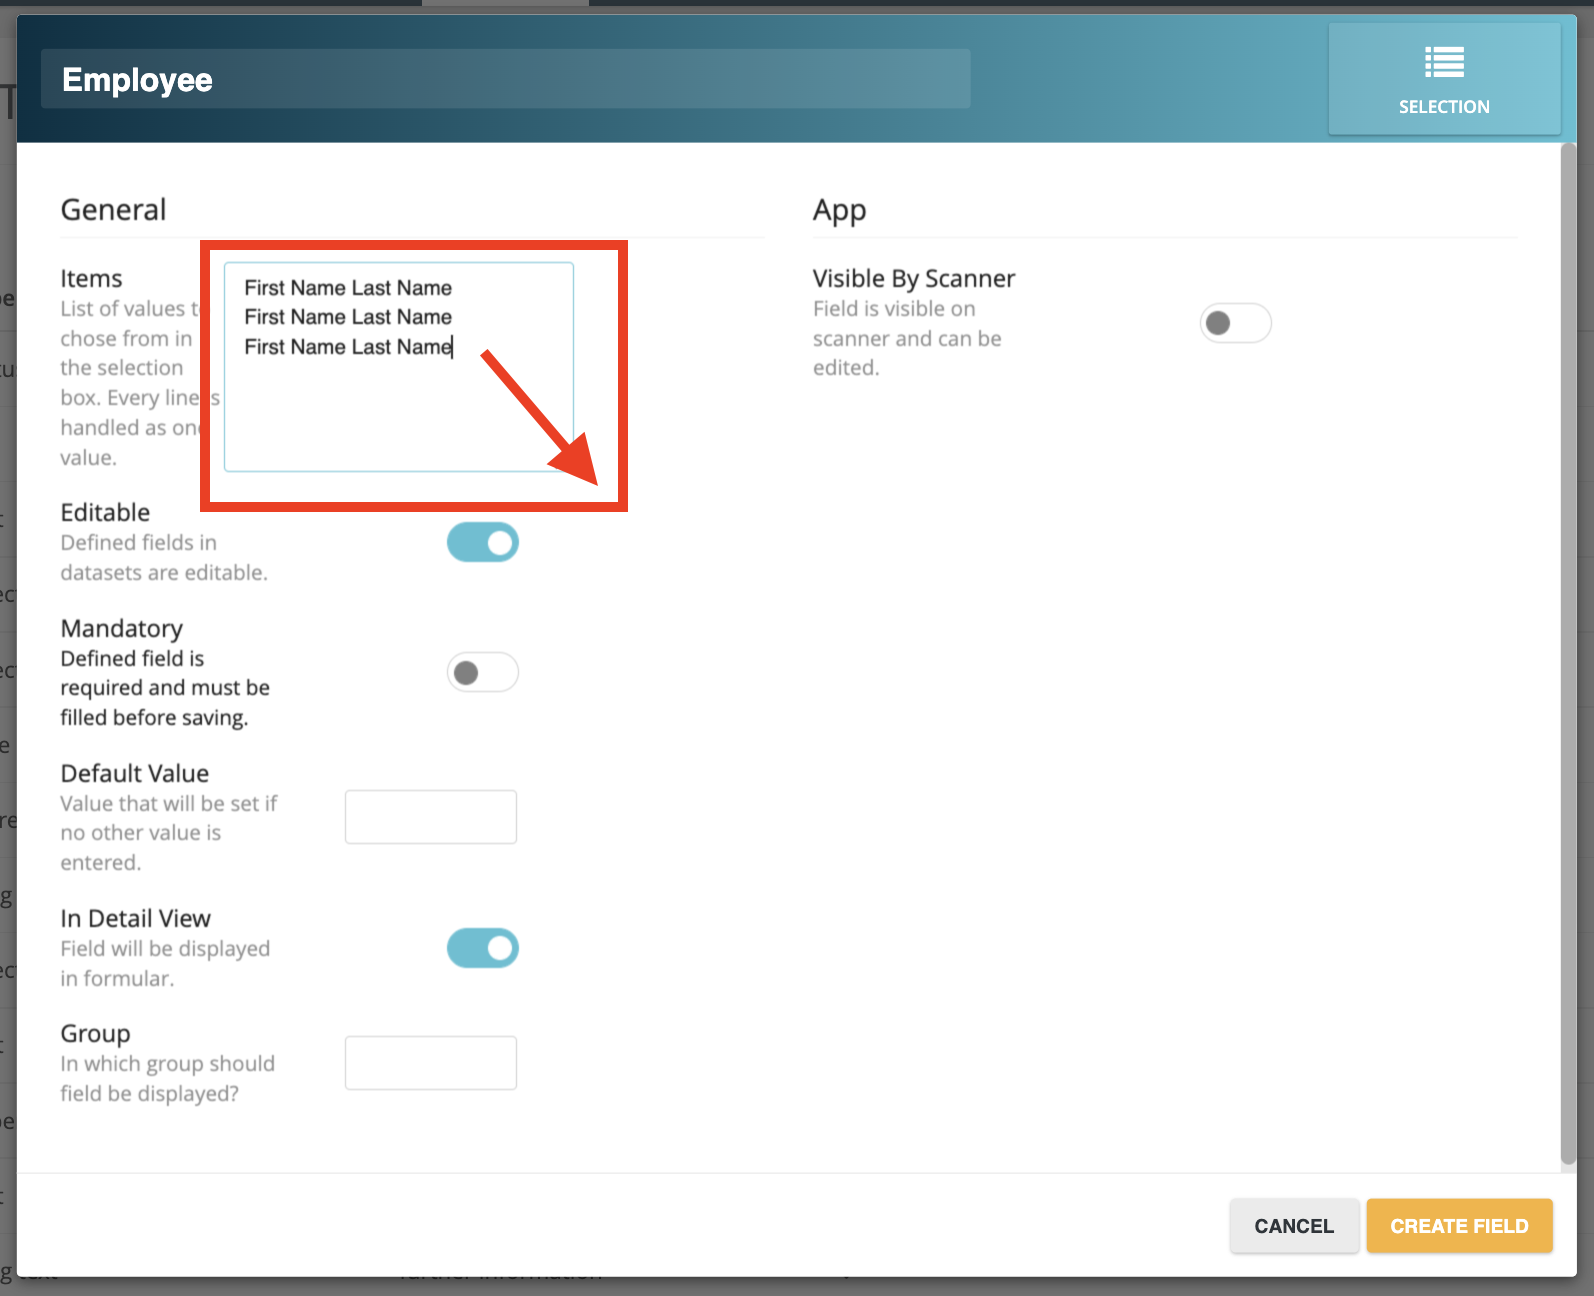
- Select your settings:
- Editable yes/no
- Mandatory field yes/no
- Show in Detail View yes/no
- Select a group and
- decide if you want to display the field in the app
- Confirm all entries by clicking on 'Create field'.
